Category Archives: Block Patterns

African Block Swap #3 and #4

What to do with a fabric that you just don’t want to cut up? Use the K.I.S.S. theory of course.

African Block Swap #3

Text fabric.

So with this fabric which has text, it was back to Jinny Beyer’s ‘The Quilter’s Album of Patchwork Patterns’ to search for suitable layouts. (Page 57, pattern number 4).

Jinny Beyer

‘The Quilter’s Album of Patchwork Patterns’ by Jinny Beyer

A 4 x 4 grid pattern from 1929 looked just right to highlight the text. So African Block Swap #3 was done. A bright background completes this block.

African Block Swap Block #3

African Block Swap Block #3

With some bits of the text fabric left over, what could be done with it? Another 4 x 4 grid, this time ‘Godey Design’ from 1857 looked just right. The challenge was in the drafting up of the block, and the bias cutting for the on-point setting. (Page 60, pattern number 11).

African Block Swap #4

‘Godey Design’ 1857

Boomerangs, Kangaroos and Uluru can be nothing other than Australia!

RobynsPatch

African Block Swap #2

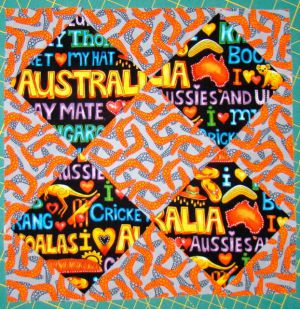
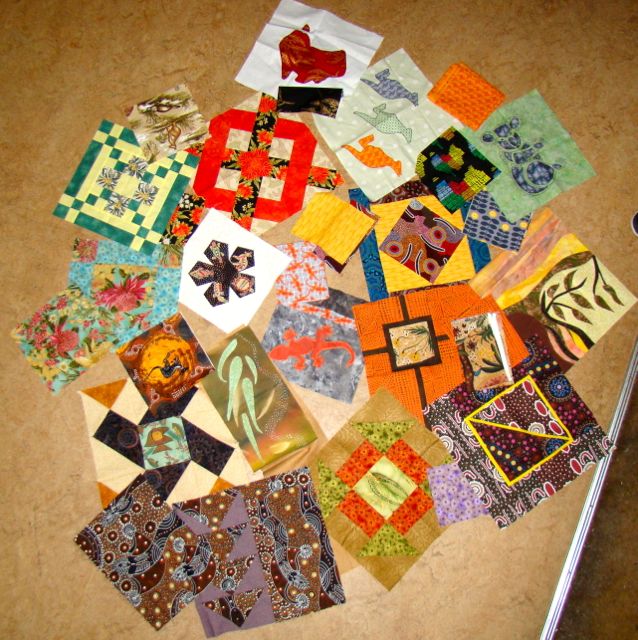
It was an amazing display of patchwork that a group of ladies from ‘The Patchworkers and Quilters Guild of Victoria’, created for the first African Block Swap. Styles ranged from traditional, to contemporary, to artistic. The choice of fabrics reflected the colours of Australia, complimented block themes, or used Australian prints. A talented bunch of ladies.

African Block Swap #1

The variety of the first block created by the group.

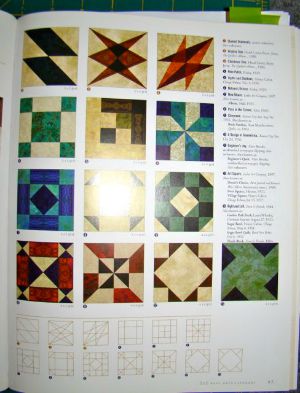
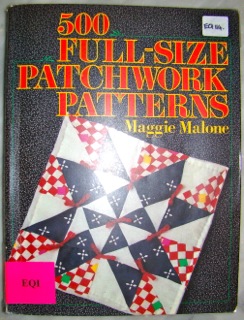
So what to do for my block this time? I am currently cataloguing all library books for my local Guild’s website (Essendon Quilters), and a side benefit is getting to have a quick peruse through the collection as part of the process. (Which is why I’ve been off the radar lately, and will be for a while as there’s 900 books to be done!) This book came along at just the right time.

Margaret Rolfe 'Quilt-a-Koala

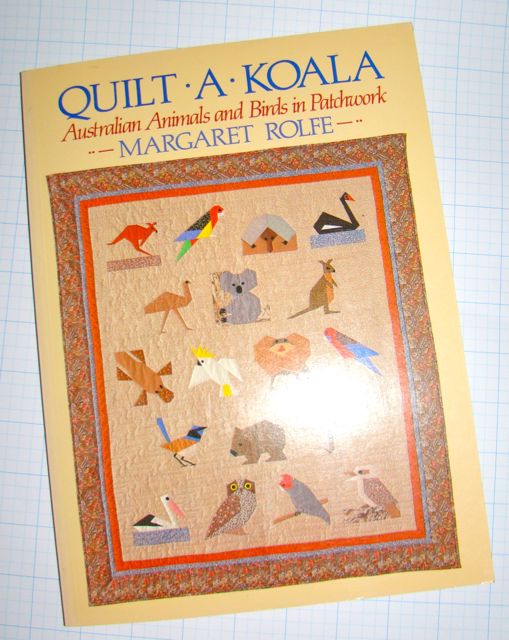
‘Quilt-a-Koala: Australian Animals and Birds in Patchwork’ by Margaret Rolfe

Margaret Rolfe is one of the Australia’s esteemed quilters, with a long history of creating and preserving the traditions. What a wonderful way to showcase Australia for this block swap! But which animal to start with – the koala of course! Just need to raid the stash for fabric too.

Koala

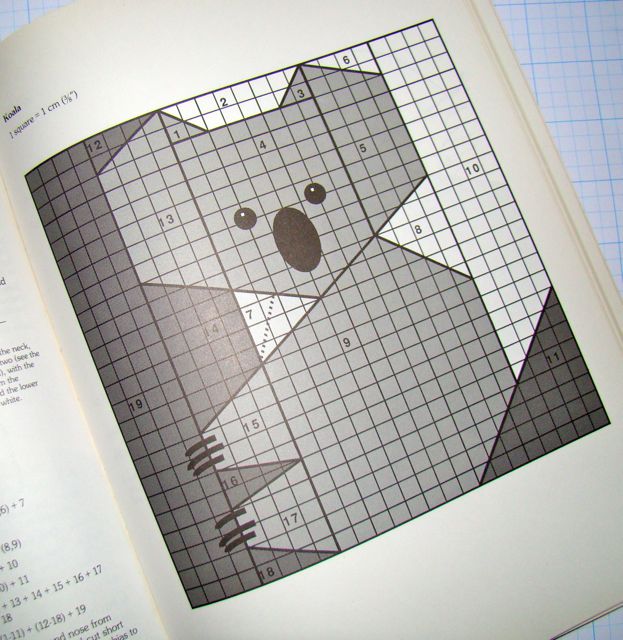
The pattern for the pieced koala.
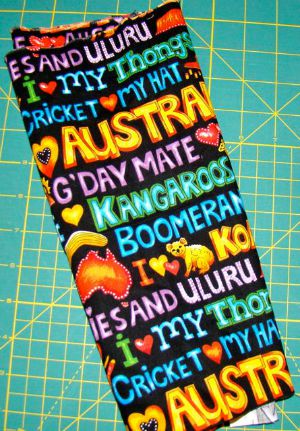
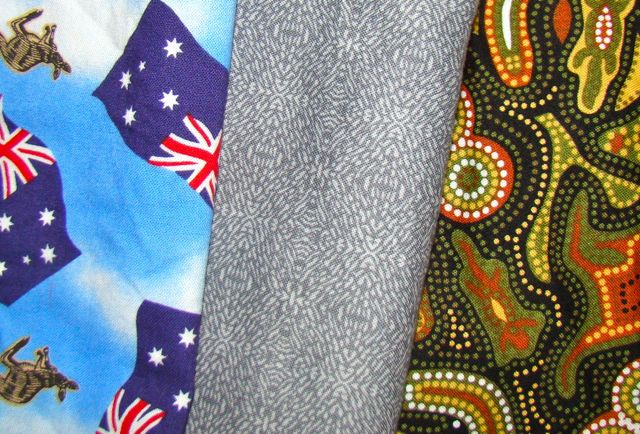
Fabric selection

Fabric selection

The pattern is for 19 pieces to make the block and is in metric measurement, whereas as patchworkers we work in imperial. Our whole country (Australia) works in metric and has done so since 1970, except for Patchwork Quilting – due to influences beyond our control, namely the industry in USA. We are continually having to switch between the two when reading patterns and purchasing fabric. DH who functions completely in metric, down to millimetres, gets frustrated when I talk in inches, so double sided tape measures come out to be used.

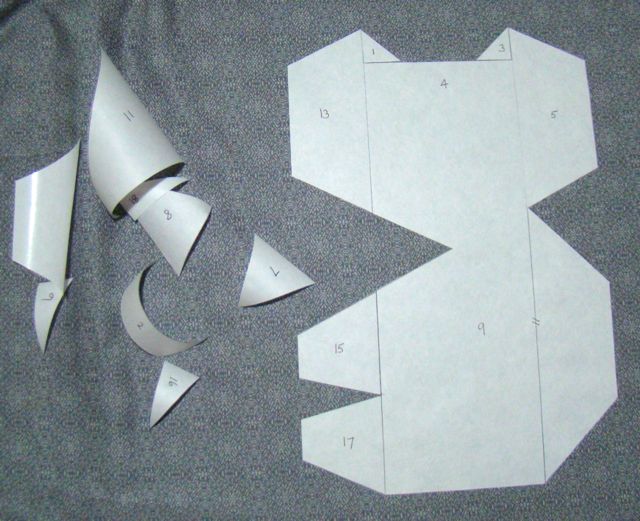
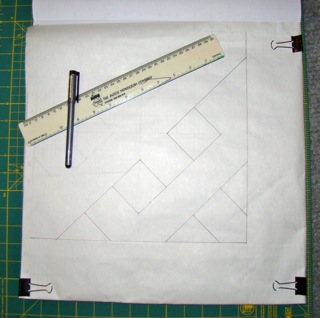
First up – draft the pattern up to a 12 inch block, cover it with freezer paper to make templates.

Freezer paper templates

Drafted block, freezer paper pinned over the top of the graph paper.

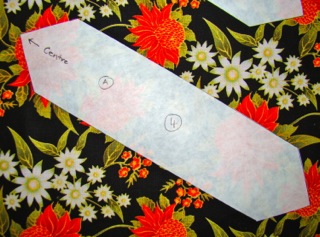
Cut the freezer paper into individual shapes, iron to right side of fabric, cut out the patches and start sewing – sounds easy. There’s lot’s of fiddly bits, and techniques have changed since the book was first published in 1990. Hang on a minute, as Pauline (Patchworks Unlimited) keeps teaching us, there must be an easier way!

Freezer paper templates

Freezer paper templates

So a rethink was in order. Why not use the templates to make the background in one piece, and appliqué the koala! Can still use the freezer paper templates to iron onto the fabric to get the right size background pieces and placement of the koala. Putting it back together again was like playing with a jigsaw puzzle.

Koala's back together!

Koala’s back together!

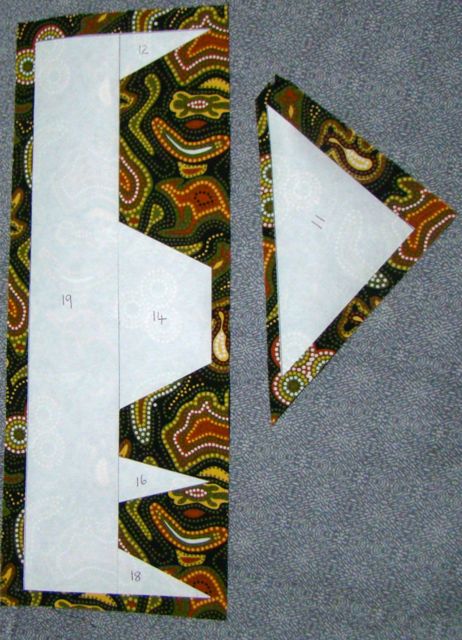
Do the same with the tree trunk.

Koala tree trunk

Koala tree trunk

Sew the backgrounds together, position and machine appliqué the koala with a zig-zag. Easy -peasy, glad I didn’t persist with 19 fiddly bits of fabric.

Appliqued koala.

Appliqued koala.

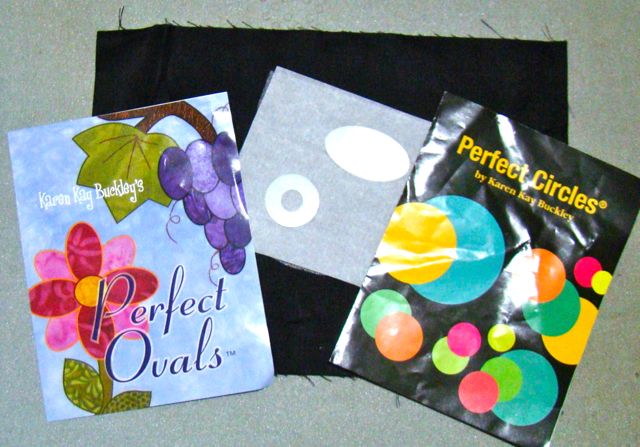
Now for the face. Using Karen Kay Buckley’s circles and ovals to make the shapes (gave up on the vlisofix, it kept falling apart), and hand stitch to the block.

Karen Kay Buckley's circles and ovals.

Karen Kay Buckley’s circles and ovals.

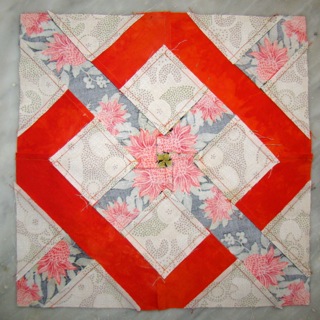
Oh no – those dinky bits of white for the eyes. Solution – use a permanent adhesive like ‘Heat n’ Bond’ that doesn’t need sewing, trim the edges of the block and the koala is done!
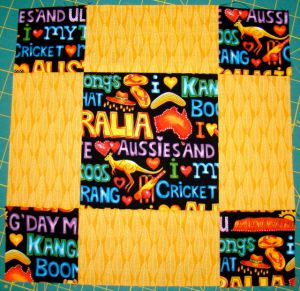
Koala block.

Koala block.

I wonder what Margaret Rolfe would think of the tools and techniques used to make this version of a block she planned 25 years ago.

RobynsPatch

African Block Swap #1

As a member of ‘The Patchworkers and Quilters Guild of Victoria’, Leslie Edwards – a contemporary quilter – has organised a ‘block swap’ with a patchwork group in Africa. The brief included a block between 6″ and 12″, and ‘see what you can come up with’.

What to do? I thought I’d document the thoughts behind this block as part of the ‘Process Pledge’, so …

  • what size to make …
  • which method of construction …
  • what pattern to use …
  • which fabrics to select …
  • what colours would be suitable …

So for the first block – let’s keep it simple. A 12″ block, pieced by machine, some Australian fabrics including a medium value burnt orange, a light aboriginal patterned fabric for the background, and a darker Leesa Chandler floral fabric as the feature.

Which pattern? It needed to be reasonably large pieces in the block to show the fabric designs, and I came across ‘Kentucky Chain’ by Maggie Malone in her book. Although I can do Y seams by hand, I thought I’d have a go at doing this one by machine instead.

African Block Swap #1

‘500 Full-Size Patchwork Patterns’ by Maggie Malone

African Block Swap #1

‘Kentucky Chain’ block.

African Block Swap #1

Next was to draft the pattern up to a 12″ size.

So, the measurements came out to be an awkward size, and rather than cut out to within an 1/8th of an inch,  … there must be an easier way to make sure it remained accurate.

African Block Swap #1

Get out the Freezer Paper

African Block Swap #1

Clip a sheet over the pattern and start tracing.

African Block Swap #1

After tracing the pattern, number and mark the pieces, and cut them apart.

African Block Swap #1

Iron the freezer paper to the wrong side of the plain and background fabrics, cut them out and draw in the 1/4″ seam line ready for sewing.

I wanted to fussy cut the feature fabric, so …

African Block Swap #1

Freezer paper ironed to the front of the feature fabric.

African Block Swap #1

Fussy cutting wastes fabric and makes holes in it like ‘Swiss Cheese’!

African Block Swap #1

Laying out the prepared pieces.

Time to sew. I used one of my favourite threads – Aurafil – for the piecing. As there was a significant amount of orange in two of the fabrics, my usual medium grey piecing threads showed up a tad more than was usual , so I did something I normally don’t do, I used a coloured thread instead. The challenge was to work out what pieces to sew into patches, and the order of sewing the patches, to keep the number of Y seams to a minimum.

African Block Swap #1

A minimum of 8 Y seams in the block as seen from the back – there could have been as many as 20!

African Block Swap #1

Circling the centre seam keeps the bulk of the fabric evenly distributed and flatter than ironing to one side.

African Block Swap #1

The first block for the ‘African Block Swap’.

Now for the next one …

RobynsPatch