
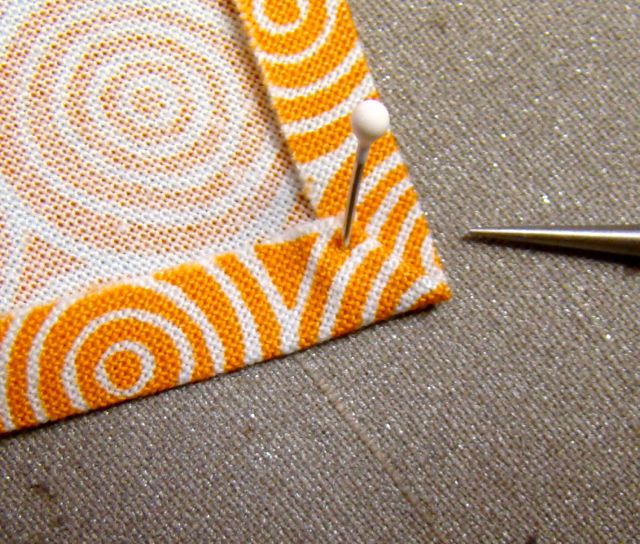
Now that the edges are turned, I use a dab of ‘Roxanne Glue-Baste-It’ on seam allowance and each ‘twirl’ of seams. It washes out and only a tiny amount is needed to hold the block in place.

Dabs of glue on half of the block.
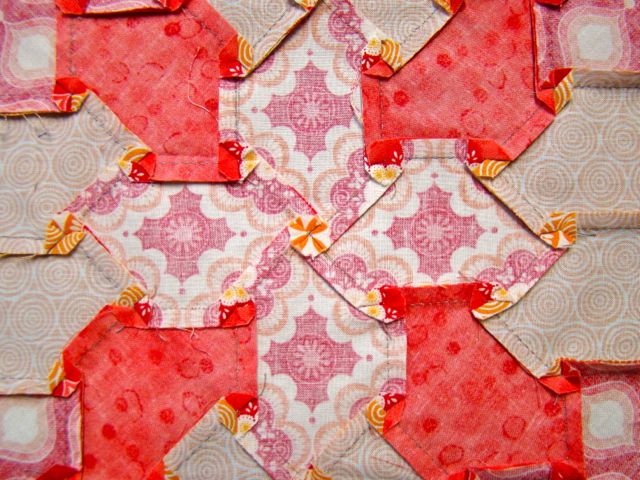
By carefully flipping this half over onto the background and carefully smoothing out the fabric, it is easy to check that no seams have been twisted in the process. The second half is then temporarily stuck down.

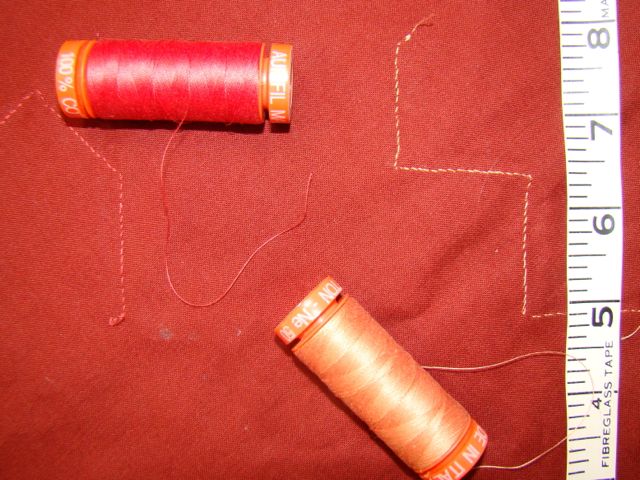
Threads for applique.
I love using Aurafil 50wt threads for appliqué, they are fine and blend well with the top fabric. This is my personal preference, as I have tried using the silk threads, but dealing with a thread that is almost invisible to see when stitching, and has a life of it’s own, is not for me. What are your favourite appliqué threads?
Hand stitching is usually at night, under a daylight, while watching something on the ‘box’. Hence the stitching is not always perfect, and even if there is no such thing as the ‘Quilt Police’, I at least aim for a consistency that I am happy with. I’ve given up trying to get them straight and have settled for bumpy bits. I do so admire the many women from the past who stitched without electricity to light their work!
Applique as seen from the back.
Back to stitching!


You must be logged in to post a comment.