Monthly Archives: September 2018

Quilting ruler patterns!

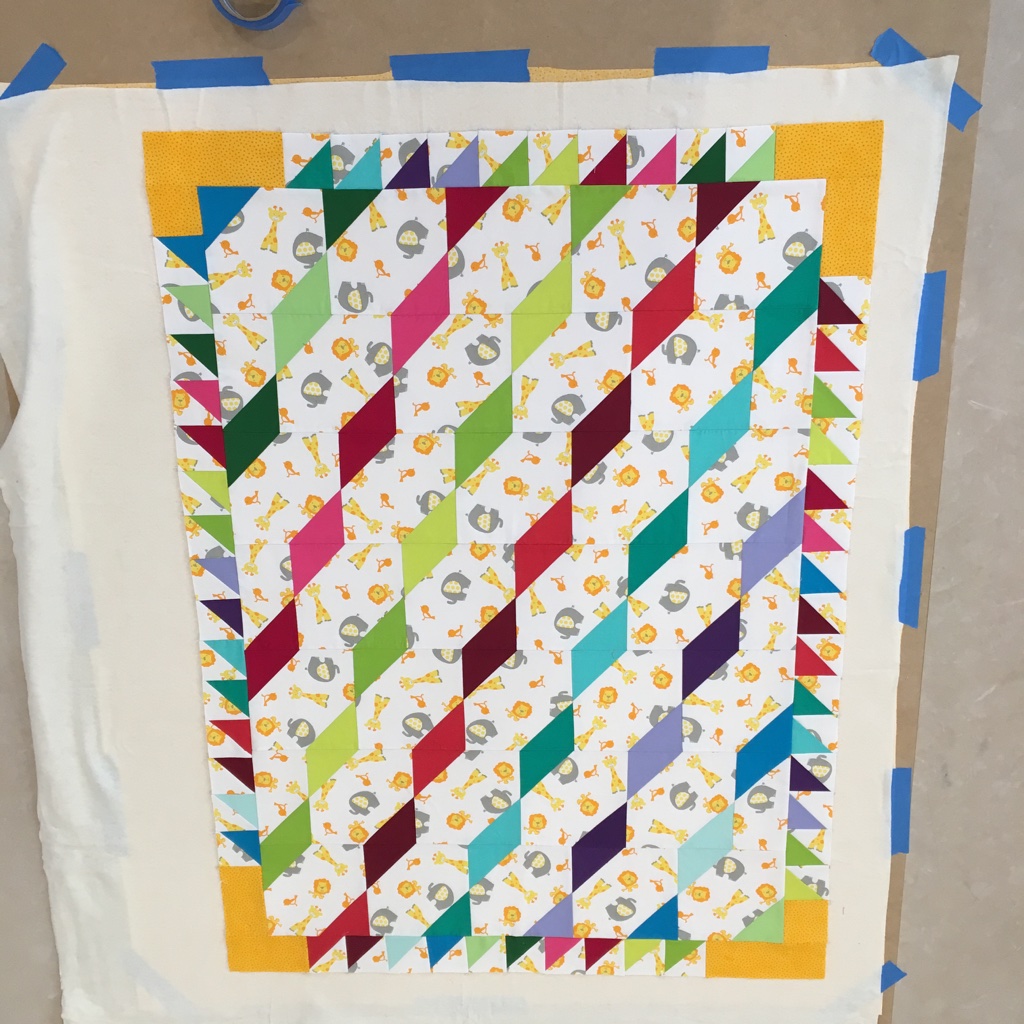
So now it’s time to quilt Alyce’s baby quilt. I’ve decided to use machine quilting ruler-work. Using rulers by hobbyists is a quickly developing area, many professionals like Leah Day and Angela Waters are producing rulers for domestic machines. Leonie and Bill from ‘Westalee’ have been doing this for a few years, so my collection of theirs and others is growing.

So, for this quilt, I’ve decided that each block will have its own pattern, instead of an allover pattern. I prefer to work on an already pieced quilt, rather than the other way around of quilting a pattern and making it into a quilt.

So where does ruler work fit in amongst domestic machine quilting techniques? At one end of the range is walking foot quilting, and at the other end of the range is free motion quilting. Ruler work sits in the middle. It has the look of free motion, yet has the stability of controlled quilting.

What’s my process? In the beginning, it’s paper and pencil planning, then as that becomes embedded it’s to seek out patterns amongst the squillion on the Internet, and interpret them into ruler work. Of course following specialist quilting bloggers is a sure way to fast track learning!

The first step is to draft up the block, Layer a piece of tracing paper over the top, if one ‘pattern’ works, but doesn’t quite suit the quilt – don’t rub out the drawing, keep it for another quilt. This builds up not only a pattern library, but it also trains the brain into seeing other possibilities. So use another piece of tracing paper. (There are great classes using this technique on the Internet.)

Draft 01

Get out the rulers, a pencil and a tracing circle – the most expensive gadget in the toolbox! Look at the block and work out how much quilting is needed. Would lines or curves be best to enhance the block as compared to an all over pattern? Match the idea up with a ruler and start to draw. Drawing helps plan the actual quilting on the machine – where to start and finish; which direction to go in first; how the quilt will sit or fit under the machine.

Draft 02

The results are patterns that enhance the quilt. Arrows show direction, —— show stitching in the ditch (previously ditch-stitched).

Draft 04

Draft 03

So let the quilting begin!

Ruler 01

Two days later it’s all quilted – nothing like an imminent birth for a deadline!

Finished Quilt

Hope you like the choices for this quilt – I’m sure the new mum and baby boy loves it!

RobynsPatch

Baste Away, Baste Away, Baste Away …

After having explored and had a go any the many ways a quilt can be basted, I seem to stick to my ‘go to’ favourite method – spray basting using ‘505’. It is quick, doesn’t add weight to the quilt, lays flat without wrinkles, stays basted for years, and doesn’t gum up the machine sewing needle. I do need a flat open space to prepare the quilt – a tad difficult in the never-ending house renovation cycle!

Basting back

Taping the backing down and stretching it tight to eliminate as many wrinkles as possible.

Basting wadding

Layering the wadding and the top over the backing, smoothing it out as it’s done. Then folding it back twice to half way – makes it easier to manage when starting the spray.

Basting top

Once the wadding is basted down, the process is repeated for the top. This time it’s necessary to check that none of the seams have shifted as it’s rolled back and smoothed down.

Basting done

Letting the basted quilt ‘rest’ to dry a bit – doesn’t take long – before ripping off the painter’s tape, a very satisfying feeling because that means it’s time to quilt!

And yes, it’s ‘fussy cut’ for horizontal layout of all those fabrics! The border fabric was a disappointment because it looked straight on the bolt but when it came to cutting it up into patches, the print was definitely not straight! Came out okay around the feature fabric (elephants), but in the longer border pieces it’s wonky – but I don’t think the baby will mind!

Cheers

Robyn

Deconstructing a Quilt

Have you ever looked at a picture of a simple quilt somewhere on the internet and thought you’d like to make it? Perhaps you took a screenshot, or bookmarked it for later or even tried to do the right thing by tracking down the maker only to find no trail or pattern? Presence on the internet fluctuates, people come and go, leaving a digital footprint – dipping in and out as life ‘happens’. These have legal, moral and ethical dilemmas that  legislation have yet to even start addressing – it’s a very large ‘elephant in the room’ getting bigger every day.

It’s easy to identify patterns from professional quilters due to their distinct style, or watermarked image, or in context of their blog, website or social media. These quilters make it easy to comply with the murky waters of copyright!

However, within the millions of shared patchwork images across cyberspace, are those that for a variety of reasons are very difficult for us to acknowledge either the pattern creator or the quilt maker. Most are traditional, or adapted quilts. The shapes themselves are not copyright as such, however written pattern instructions are. So after reasonable attempts to connect with a maker are difficult or fruitless, it comes down to deconstructing a quilt from an image in order to make your own version.

Here’s a snippet of one that caught my eye for an upcoming urgent baby quilt – and I can credit the original maker, Rita Norman ‘Campbell’s Quilt’ Feb 26, 2014. Do I take the time, effort and expense in getting the written instructions? Will the pattern be a digital download? My time also has value. As I have the skills, do I deconstruct the quilt and get on with making my version? Hence the dilemma.

IG Original

It is only a small percentage of patchwork quilting that is really ‘new’ – mainly in the art or textile category. Take a look through the myriad of magazines or books and you’ll be amazed at what talented stitchers have already created! It’s where a lot of current quilters get their inspiration for their own adaptations.

So, I’m confident that this image – which the maker has shared with millions – can be deconstructed. What’s involved in the process? Basically it comes down to a 3 step process.

1. Block research: how many blocks, are they the same size?; what are the block, and unit dimensions; is it a well known traditional block, can it be cross-referenced with either Barbara Brackman or Jinny Beyer’s encyclopaedic volumes?

2. Block drafting: can the block be drafted up on graph paper; can the resultant measurements be used to calculate fabric requirements?

3. Block construction: do I have the implied required level of expertise to make the block, and consequently the quilt?

Then comes the fun bits – colour schemes, fabric selection, and sewing!

My choices are these, and the sewing has begun…

Fabric Selection

Fabric Swatch

Top made

Next comes the basting and the quilting!

Fun! Fun! Fun!

Have you ever deconstructed a quilt?

Cheers

Robyn

Just in Time!

Finally got there!

The pattern came together quite easily – just time consuming, definitely not something to make in a weekend! Well the top yes, but a whole quilt – no.

Blocks together

I use 505 Spray Basting – quick, efficient, and easy, as long as there’s floor space!

Basted top

The decisions of what threads to use, the quilting pattern, and method of quilting also take time. With this one, it was two threads only, with some domestic machine ruler quilting in the large patches, and some free motion in the coloured patches.

Quilting Rulers & Thread

Curves to make a melon shape with the rulers, along with a straight edge for in the ditch, and spirals for free motion.

Quilting

At last, it was finished! An enjoyable process once the panic over ‘What will I make’ was over!

Finished!

Unbeknownst to me, Sarah has a jungle themed nursery, so it was a hit!

Oh Dear! Just heard there are two more coming up!

Decisions again …

Happy Quilting

Robyn